Tuesday, January 19, 2016

Quinn Wilson's Bone Broth


Close to two years ago, Quinn Wilson, a San Diego chef I've known for several years, approached me with two concepts she was developing into a business. One was a master tonic that features freshly grated horseradish, fresh chiles, onions, ginger root, and garlic cloves. It's meant to alleviate colds and viruses, along with assisting with a number of other health-related issues. Whether it does or not, it's got an interesting flavor and the solids are wonderful for cooking. So, I featured it here, along with the recipe.   

The other concept Quinn was working on was a bone broth that she turned into a business called Balanced and Bright. Now bone broth has become quite the trend. The claims are that this ancient remedy can assist in the repair of joints and bone tissue; improve hair, skin, and nails, thanks to the collagen released from the bones; alleviate acne, promote fertility, help in post-surgical healing, and provide symptom relief for autoimmune disorders. In fact, there is a long list of ways it's suggested bone broth can be healthful.

I have no opinion on it one way or the other since I have no medical training. And, Quinn acknowledges that there is still no scientific evidence for how bone broth works or confirmation of its long-term benefits. What I do know is that it tastes delicious. And since I grew up with chicken soup--the Jewish penicillin--who am I to doubt the beneficial effects of broth, especially if it's made with care and good ingredients.

Well, Quinn came at this at exactly the right time. An avid social media participant, publisher Sonoma Press discovered her on Instagram. They were looking for someone to write a book on bone broth and picked her. Quinn had five weeks to produce a manuscript and recipes. She met her deadline and the book, Bone Broth: 101 Essential Recipes & Age-Old Remedies to Heal Your Body, has just been published.


In the book Quinn has provided a thorough explanation of bone broth and its history. She also explains how to select bones--whether those of large animals or poultry, rabbits or game birds or fish. She addresses the various ingredients you'll need to make her basic broths, cooking methods (pressure cooker, stove top, or slow cooker), and how to store it. She even explains techniques for effective clean up since it can be a messy process, complicated by fat. 

The basic broths range from beef, chicken, duck, and lamb to pork, rabbit, wild game, fish, and shellfish. Her Master Tonic is included, as is a joint soother, pregnancy broth, cleaning broth, stomach soother, and thyroid support broth, among others. 

I visited Quinn at her home and she first prepared a drink I had my doubts about, called The Cinnamon Roll. It's made with a neutral broth--one that omits vegetables in favor of ginger and fennel--as well as cinnamon, coconut sugar (or honey or stevia), and pastured butter. A sweet broth? It didn't sound promising. But I was won over. It was lovely, with a rich subtle flavor that was comforting.

In fact, Quinn adds neutral broth to all sorts of unusual applications--smoothies, hot chocolate, cocktails, pancakes, brownies, and other desserts. The savory recipes range from French Onion Soup, Ratatouille, Chicken or Rabbit Mole, and Poached Scallops to Braised Lamb, Pork Agrodolce, Posole, and this marvelous Autumnal Pork Stew below.


Quinn created the stew recipe on a whim, adding some very strange ingredients, like orange marmalade, brandy, and smoked sausage. But it works. She made it for me and I loved both the textures and the sweet slightly smoky flavor, made complex with citrus and spices. It's rich, aromatic, and satisfying--especially on a chilly day or night.   


Autumnal Pork Stew
From Bone Broth: 101 Essential Recipes & Age-Old Remedies to Heal Your Body by Quinn Farrar Wilson


Serves 8 to 10
Prep: 15 minutes
Cook:             Slow Cooker:
                        4 hours on high
                        8 hours on low

·      This autumnal stew gets better the longer it sits. For an extra flavorful stew, prepare it a day before serving.


Ingredients:
1 teaspoon tallow (or some other cooking fat, coconut oil, etc.)
1 (1 ½ pound) pork shoulder, cubed
½ cup finely chopped smoked pork sausage
4 cups diced butternut squash
1 large white onion, chopped
1 small fennel bulb, cored and thinly sliced
½ fuji apple, peeled, cored and finely chopped
3 ½ cups bone broth of your choice
¼ cup brandy
3 tablespoons orange marmalade
3 sage sprigs, tied into a bundle
1 ½ teaspoons Celtic sea salt
2 tablespoons apple cider vinegar


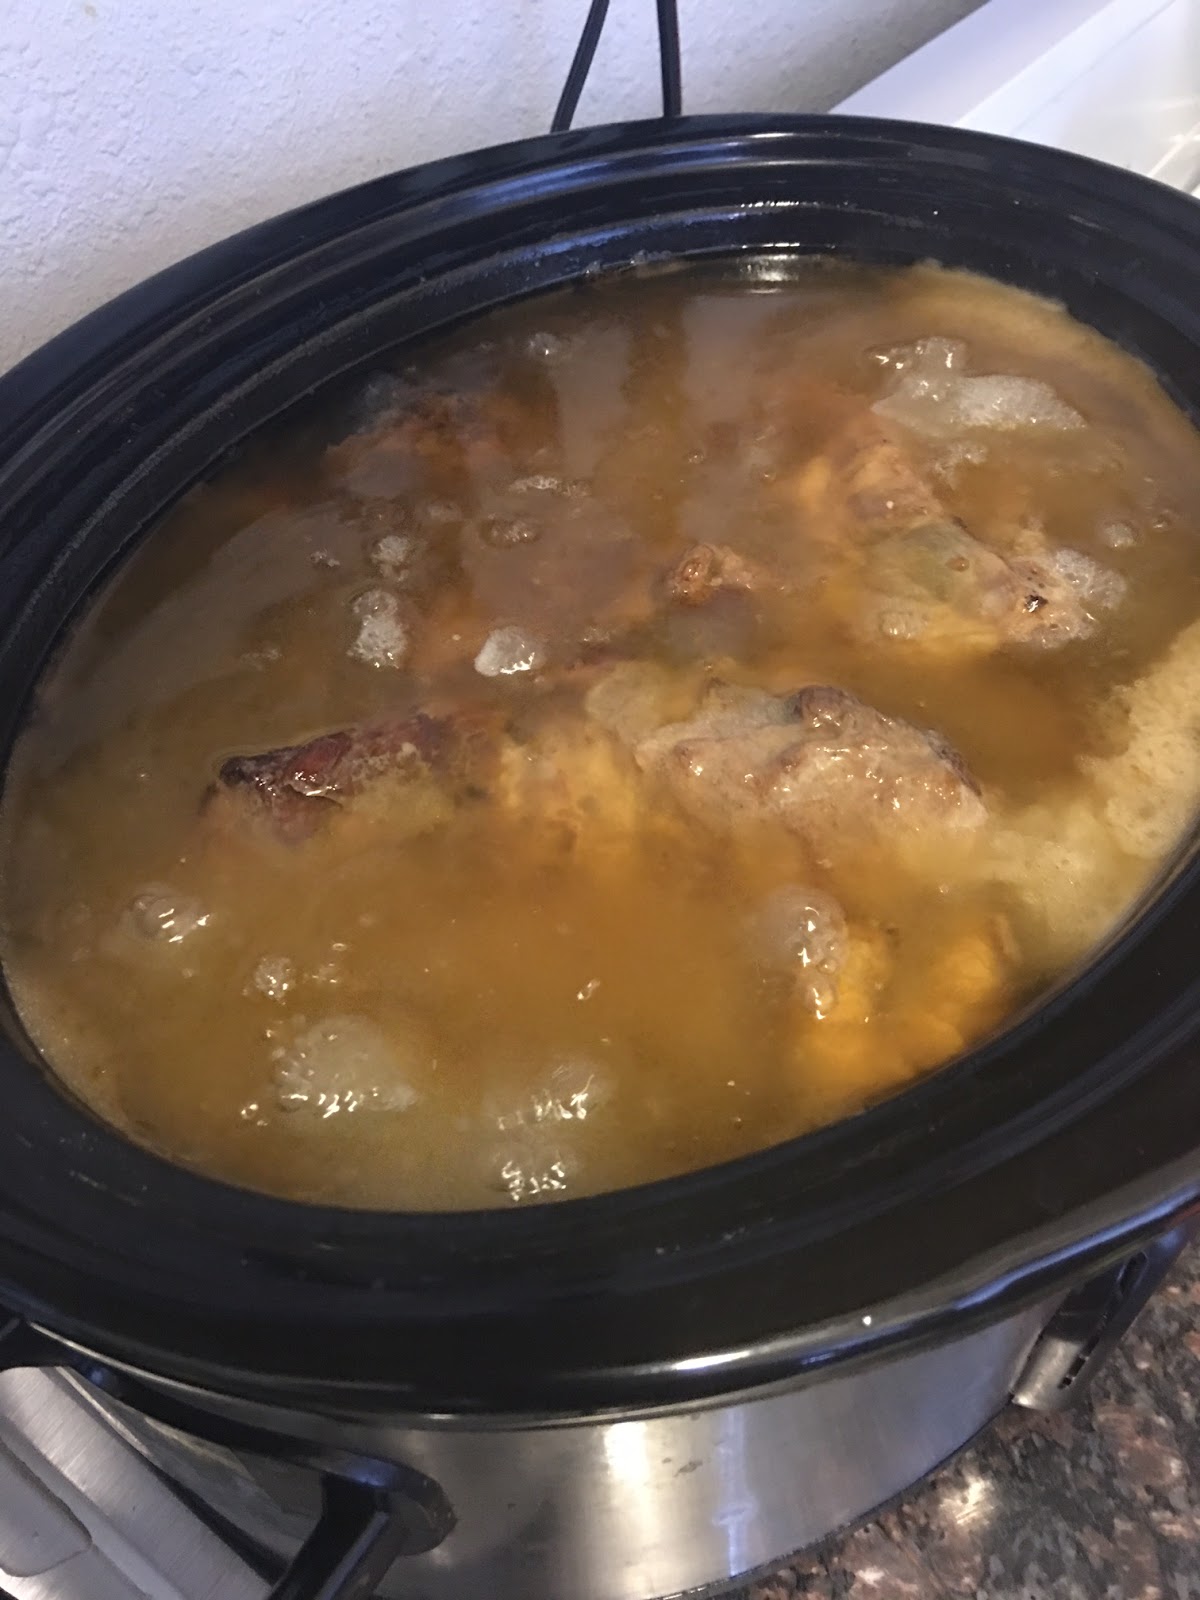
1.     In a large pan, heat the tallow over med high heat. Add the pork cubes and cook until well browned, stirring frequently. Transfer to a slow cooker using a slotted spoon.
2.   Add the sausage to the pan and brown well. Transfer to the slow cooker.
3.   Add the butternut squash, onion, fennel, apple, bone broth, brandy, orange marmalade and sage to the slow cooker. Cover and cook on high for 4 hours or low for 8 hours.
4.   Stir in the salt and apple cider vinegar. Serve.


Print Page

Tuesday, January 12, 2016

Meyer Lemon Marmalade and My Lesson in Jamming


I love the craft of preserving--for me it usually take the form of making pickles. Periodically I make jam, but only if I've managed to get my hands on more seasonal fruit than I can eat or bake with before it spoils. A case in point? My Meyer lemon trees have been weighed down with fruit. I adore Meyer lemons, but how many can I use on my own? I gave some away as holiday presents but that still didn't make a dent. And the fruit needed desperately to be picked. So, how about making Meyer lemon marmalade?


I've successfully made marmalade from a wonderful Ina Garten recipe in her Barefoot Contessa at Home cookbook, but her large oranges didn't really translate into my much smaller lemons so I searched through my cookbooks until I found an actual Meyer lemon marmalade recipe in my ginormous compendium of all things Ruth Reichl, The Gourmet Cookbook. I was tickled to have just what I needed from one of my cooking bibles.

Other than tripling the recipe to use 4 1/2 pounds of lemons, I followed it precisely. It took me hours to halve the lemons, remove and reserve the seeds, then quarter the juicy halves and thinly slice them. I pulled together all the seeds into a cheesecloth parcel I tied with string. I mixed the lemons with water and the seed pouch and let the mixture stand at room temperature for 24 hours.


After racing out in the rain to get more sugar (12 cups!), running all my jars through the dishwasher, and then setting up my canning equipment, I started the cooking process. Everything went fine. I put a couple of small plates in the freezer to chill so I could test that the marmalade had cooked enough. The soaked lemon mixture simmered for 45 minutes, reducing by a third. Then I stirred in the sugar and brought it all to a boil, stirring and skimming.


Per the directions, after 10 minutes I pulled out a frozen plate, dropped a dollop of golden marmalade on the plate, put it back in the freezer and waited for a full minute. I tested it. Still runny. I cooked the mixture for five minutes more, tested it. Still runny. I did this four more times and by then the peels were collapsing. Enough.

At this point the jars had been sterilized so I started filling them, hoping that the mixture would set. I processed the filled and sealed jars and set them on the counter overnight, cleaned up the kitchen, and crossed my fingers.


I shouldn't have bothered. The next morning I had what I generously called Meyer Lemon Marmalade Syrup. It tasted delicious, but was still runny.

Fortunately, because I posted some of this on Facebook, pastry chef Kathleen Baran Shen of Bake Sale Bakery offered some advice. And this is why I am writing this--because this Gourmet recipe didn't mention it--you need to measure the temperature of the mixture and that temperature needs to hit 223 degrees to reach the jelling point.

"There are varying amounts of water in every lemon and the temperature assures a specific percentage of water remains in the mixture," she said. "Just cooking for a set amount of time doesn't get you a specific end result.

"Pectin needs a few things to set," she explained, "proper sugar concentration, acid, and to be cooked to the right temperature."

She added, "If you want to go to the trouble to dump it out and recook it, use a thermometer and bring it to 223 degrees and re-jar it. It will be good."


Kathleen was right, of course. I had some leftover jars of "marmalade syrup" in the fridge--jars I didn't have room to sterilize. I dumped the contents into a pot and followed her directions. After I poured the recooked mixture back into the re-washed jars, I let them cool and then put them back in the fridge. A couple of hours later I opened one up. Sure enough, it was perfectly jelled. I went back and emptied all my marmalade syrup into a large pot and brought the mixture to the right temperature, re-washed and sterilized the jars, filled them, processed them, and relabeled them--this time as just Meyer Lemon Marmalade. Okay, a slightly darker marmalade, though. Turns out that while sugar doesn't caramelize until reaching 300-plus degrees, if you don't stir constantly as you get close to the magic number or use a copper pot that conducts heat more effectively, the bottom gets hot enough to caramelize. And, as Shen added, some color change will happen no matter what as the fruit changes color when cooked. Second lesson learned!

So, if you are starting out as a jammer be sure to find the right recipes and also don't give up because it didn't come out right the first time. Kathleen not only saved my batch of marmalade, she saved my hard-earned lemon harvest--and gave me the gift of knowledge that will be used for my next jamming foray.

Here's my version of Meyer Lemon Marmalade, adapted from the Gourmet recipe with Kathleen's advice included. In terms of special equipment, you'll need a large canning pot and rack; canning jars, lids, and bands; a jar lifter; a funnel; a lid lifter; cheesecloth and string; and a candy thermometer.


Meyer Lemon Marmalade
(printable recipe)
Yield: About 6 cups

1 1/2 pounds Meyer lemons
4 cups water
4 cups sugar

1. Halve the lemons crosswise and remove the seeds, placing them in a bowl as you work--they'll provide the pectin you need to thicken the mixture.

2. Tie the seeds in a cheesecloth bag and reserve.

3. Quarter each lemon half and thinly slice crosswise.

4. Combine the lemon slices, seed bag, and water in a pot and let stand, covered, at room temperature for 24 hours.

5. When you're ready to make the marmalade, wash and sterilize jars in a large canning pot filled with heavily simmering water. Keep the jars in the water and keep the water simmering. Wash the lids and put them in a small saucepan. Fill with water and bring to a simmer. Wash the bands and set aside.

6. Place the lemon mixture on the stove and bring to a boil. Reduce heat and simmer uncovered until reduced to about 4 cups--about 45 minutes.

7. Stir in the sugar, attach the candy thermometer to the side of the pot, and bring to a boil over moderate heat. Stir occasionally and skim off any foam until the mixture reaches 223 degrees.

8. Place a kitchen towel on the sink where your filled jars can cool. Remove a jar from the canning pot and drain it of water. Fill it with marmalade to within a 1/4" from the top. Wipe off any excess marmalade from the jar, particularly where the lid and band will go.

9. Place a lid on the jar. Seal the jar with a band and gently twist it. Do this with each jar and then return them to the water bath. (Note: If you have any leftover marmalade, place it in a container and refrigerate it to use right away). Discard the bag of lemon seeds.

10. Cover the pot and bring the water back to a boil. The jars should be in actively boiling water for 10 minutes. Turn off the heat and leave the jars in the bath for another five minutes. Then remove the jars to the towel on the counter out of a draft. Don't worry if there's water on the lids. It will evaporate. Let the jars alone overnight. Within minutes you should hear popping as the lids seal.

Questions about the nuts and bolts of preserving? My bible is the Ball's Complete Book of Home Preserving. You'll find a step-by-step guide to the canning process. It seems intimidating at first because of the number of steps but it actually is very easy.


 Print Page

Tuesday, January 5, 2016

Broccoli Flower Salad


Last Saturday I went shopping at the Little Italy Mercato and was tickled to see Idzai Mubaiwa of African Sisters. I wrote a piece on women farmers for Edible San Diego last year and included this amazing woman, who emigrated here from Zimbabwe in 2002. Idzai got started farming in San Diego four years ago, thanks to the International Rescue Committee. They taught her how to run her business and helped get her into the North Park Farmers Market. Idzai has four daughters. One is at Howard University and, she bragged, one of her younger daughters was just accepted to Vassar.

This time of year, of course, the pickings at some of the farm stalls are slim, but I found two items to buy from Idzai. One was a gorgeous bunch of rainbow Swiss chard, which I'm cooking up in a hearty mushroom barley soup--just to also have some greens in there. The other was a bunch of broccoli flowers.


Now broccoli flowers sound unusual but really they are simply the sweet, petite yellow blossoms that sprout from the mature heads of broccoli. Yes, the florets you love to eat more than the stems are actually flower buds in waiting. Let them go and they'll blossom.


The challenge with eating them is that as the broccoli ages enough to bloom, the stems become tough. So, no roasting these. You can certainly boil or steam them to serve with a nice sauce or vinaigrette or strip the flowers, add the stems to soup, and then use the flowers as a garnish. But I like a good crunch, so I make a salad with them. If the ones you find are too tough to eat raw for your taste, then you can blanch them for about a minute.


This week, I basically rummaged through my fridge and pantry to figure out what would pair nicely with the broccoli. I had celery and scallions, mandarin oranges, a bowl of walnuts I'd already toasted, and garbanzo beans. I figured a hard-boiled egg would go nicely in there, too.

For a dressing, I made a simple vinaigrette with a sharp-flavored aged red wine vinegar, extra virgin olive oil, whole grain mustard, and kosher salt.


What I found worked for me in prepping the broccoli was to slice the stalks, then remove most of the flowers from the florets before chopping them.


I used the small, tasty inner stalks of the celery and pulled as much of the fibrous strings off the peeled mandarin sections as I could. For the hard boiled egg, I used an egg slicer and just ran it twice in different directions to get a dice.

As I write this, it's the first Monday of the new year--heavy with dark clouds that portend a week's worth of rain. So the bright colors and flavors of this salad really lightened my day, even as it gave me a hearty lunch. The potent punch of the vinaigrette complemented the broccoli. I love the crunch of the stems and walnuts and the burst of sweetness from the little slices of orange. This is a happy meal! Plus, it's a great way to start the new year off healthfully.


Print Page